My most recent client makeover was for a very dear friend, so it was a really great experience and one of my favourite makeovers! I love helping out all of my clients, but when they are friends it makes the process all the more enjoyable. Not only do we take the 'organising journey' together, I also get to hear about the positive impact and benefits of the newly organised space once the job's complete. This is definitely the part I love most about my job as a professional organiser!
Chrissy contacted me a few months back as she had just finished a renovation on her beautiful house, and she was ready to take back her storage spaces and home office, as she often works from home. These 2 areas overlapped in a way, as there were things being stored in the home office that needed to go in the storage cupboards and vice versa. Needless to say, it was a very productive 5 hour session, with loads of decluttering, and many piles of 'stuff' to be thrown out and recycled by the end of the day.
I usually show you all the Before pictures from a space first (like with this garage, this wardrobe, or this spare room makeover), but because we were organising 3 areas, I'll show you the makeover of each space separately.
The first area we decided to tackle were the storage cupboards. It is a wise idea to sort your storage areas before you start decluttering other spaces in your home, so that you actually have the storage space and clear homes for things being moved into storage. This hallway of built-in cupboards had been fairly crammed full of stuff during the home renovation (which tends to happen during these kinds of projects) so they needed some major sorting.
After our initial consultation, I sent Chrissy an organisational plan which detailed the steps we would follow. The first step of the process is always to remove everything from each space and begin categorizing. When I arrived, it was great to see that Chrissy had already started the task of creating 'like' piles. Below you can see the categories starting to form i.e. batteries, torches, cleaning products, umbrellas, cords and power outlets etc.
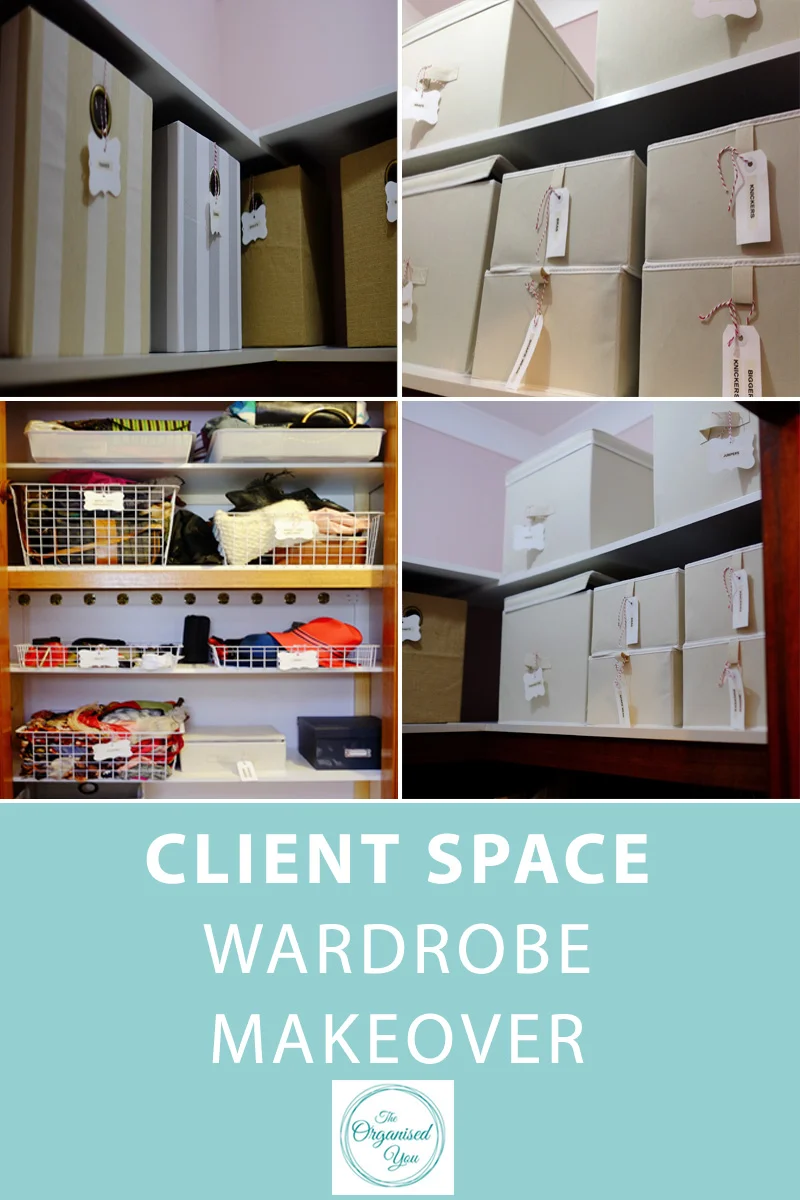
I always tell people who are organising their own spaces at home that it is best to wait until you have finished decluttering each space before assessing what storage products you may need and deciding what to purchase. However, this is harder when working with clients as we will need the products on-hand to finish the job properly. Chrissy had purchased a few tubs and baskets to organise the cupboard, but she ended up heading off to the dollar store halfway through the job to grab more, as there were so many different categories being stored here.
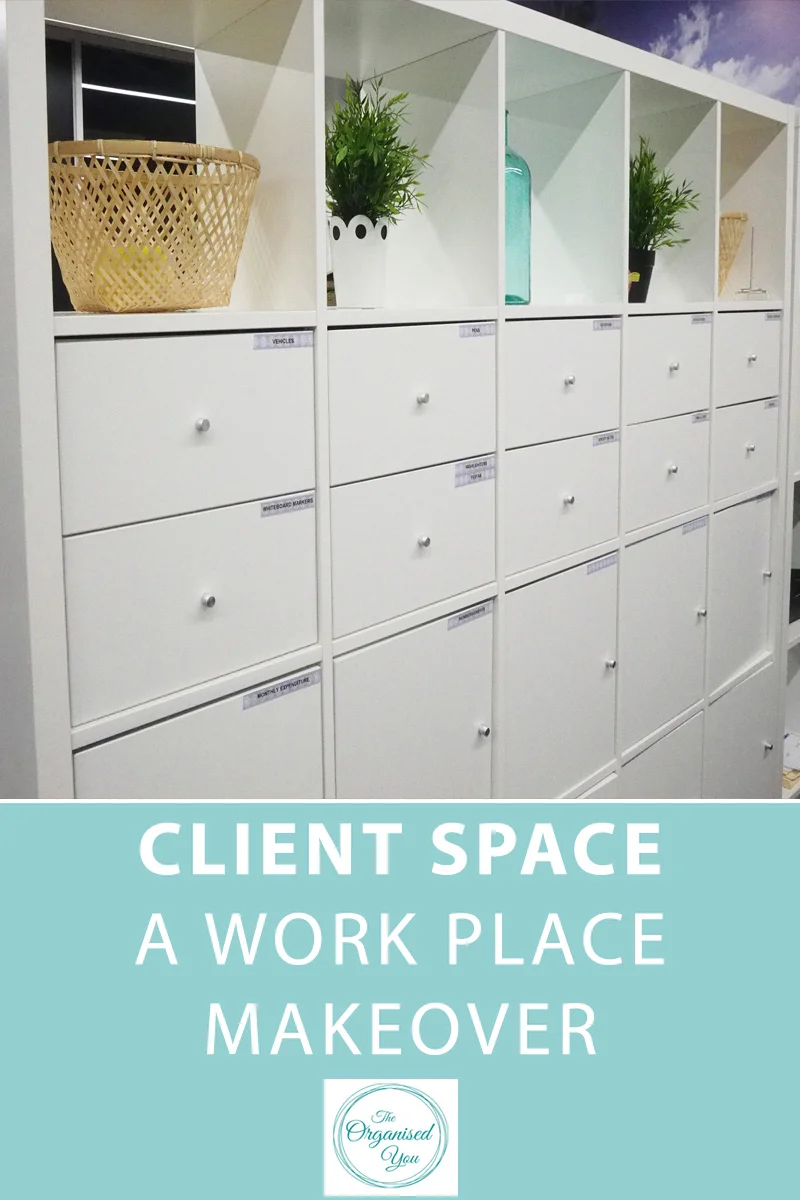
In the picture below, you can see how each category is separated into open-pull out baskets for easy accessibility, and labelled so that things can be put back in the right place. #labellove!
The cleaning cupboard was also given a quick revamp by attaching 3M hooks to hold the dustpan and lint-roller, and screwing hooks straight into the wooden shelf to create hanging space for the mops, squeegees and broom. Hanging these long items prevents them from sliding around inside the cupboard and makes everything easy to grab and go.
>> Want to learn the step-by-step process for tackling
the decluttering of any space in your home?
Check out my online course 'Chaos to Calm'! >>
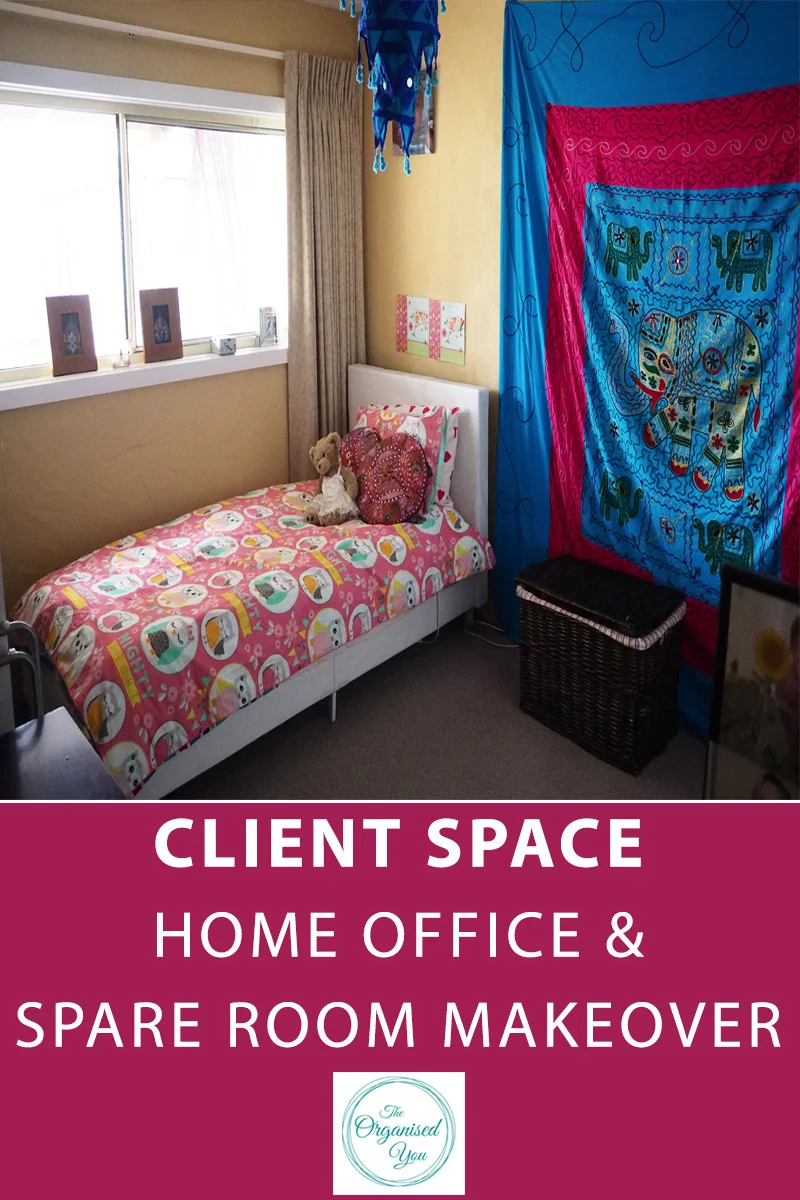
Once the storage cupboards were organised, we gained back some floor space to tackle the home office. During the renovation, all the furniture had been pushed into the middle of the room to complete the painting of the walls. So much of Chrissy's initial consultation was spent discussing where the best spot for each of the larger items of furniture would be. Here's how the room looked initially from both angles of the room...

After playing around with quite a few different furniture arrangements in this very spacious room, we settled on the configuration below, which had the desk facing the window so Chrissy could take in the lovely views as she works. The larger pieces of furniture such as the credenza, console and bookcases were placed against the walls, creating loads of floor-space, and a more open and relaxed feel to the space.
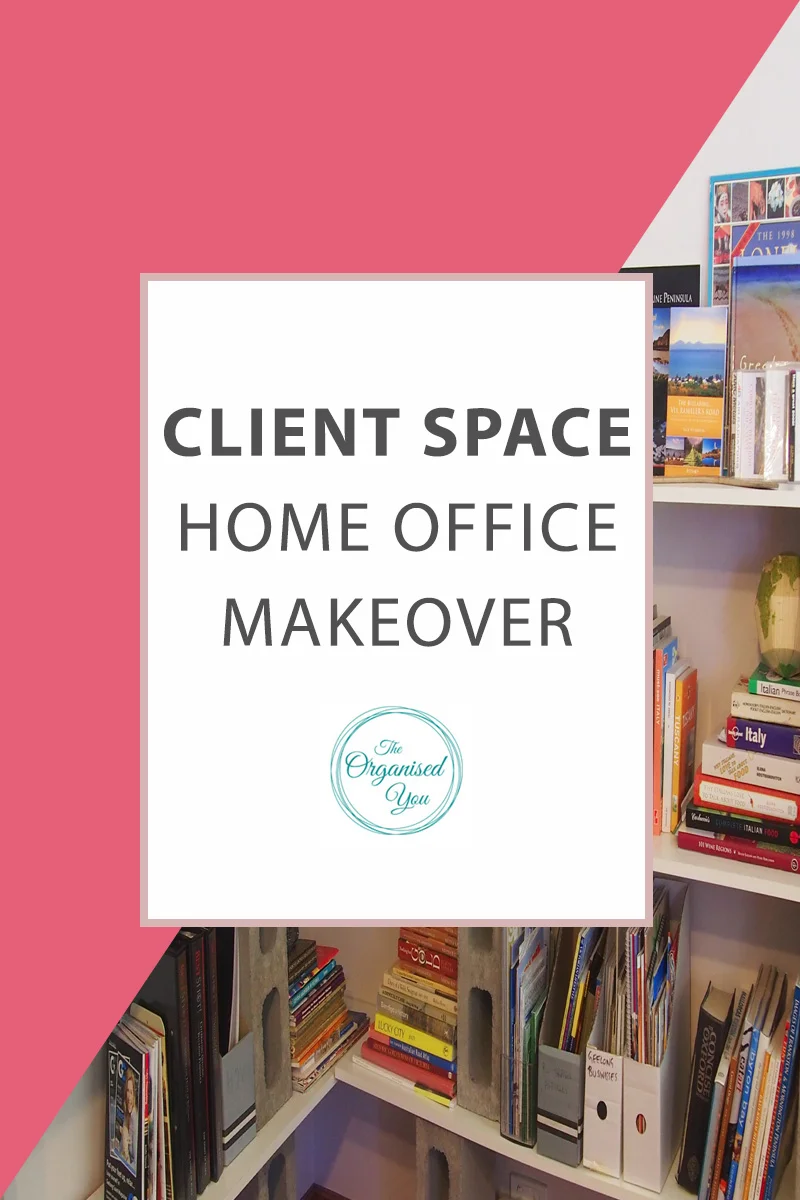
Once the furniture was in place, it was a just a matter of organising the items inside, which is always my favourite part! The bookshelves were placed side-by-side along one wall and are filled to the brim. Chrissy is hoping to sort through the paperwork and get a more workable filing system happening later down the track, but her job requires her to store a lot of paperwork, so sorting through it all is a massive job in itself!
This credenza turned out to be a really useful storage piece in the room, and also has a nice wide top to hold special photos.
Inside we organised the camera gear and equipment, and some personal file folders on the left....
While the right holds photo albums and a box of printed photos.
We utilised the credenza (which was placed next to the bookshelves) to store envelopes, stamps, notepads and paper, which are all necessary for Chrissy's work. The heavy sewing machine was placed right at the bottom for easy access.
Chrissy also had quite a lot of personal keepsakes stored in her home office, including toys from her childhood, letters, old school-work etc. During the 5-hour session, she did a great job of whittling this large collection down to one box, pictured below (although we couldn't quite fit the childhood violin in!). A memory box is the perfect way to store all your personal memorabilia and keepsakes in the one spot, and once you've selected a storage container to fit everything, you should try to never hold onto more than this amount.
The final space we tackled was this storage room, just off the home office. Chrissy was keen to use this space to hold sports gear, bikes, luggage, and larger technology items.
There were a lot of cords and electrical pieces in here that also needed to be sorted. Chrissy had found the name of a great company that takes all these discarded bits and pieces and recycles them properly. This meant that Chrissy could more effectively assess and purge what the couple no longer used, knowing it would be recycled properly, which is an important thing to remember when decluttering, You can easily do this yourself by googling 'recycle electrical equipment' and the name of your area.
Below is a look at each of the newly organised spaces within this storage area:
1) Printing paper, laptop bags and laptops
2) Printer and hard drive, with a box of cords below (and the collection of sports shoes!)
3) A handy storage unit for sporting gear, including hats & gloves for running and bike-riding, boxing gear, bandages for injuries, and sports bags.
4) Bikes hanging on the wall for easy access, with luggage stored above (not pictured)
Wowsers! What a big project! Here's a recap of what we accomplished in each space:
I never feel like photos really do a makeover the full justice, of how it actually looks and feels in a newly organised space. It can be tricky also to take photos during the whole process, as I'm focussed on getting everything functioning well for my client, and as organised as possible. So I think Chrissy's words a week after the makeover best sum up the whole experience:
'It's amazing how much more productive I am in there now!!! Yesterday [my son] had 2 day sleeps of 1.5 hours each and I got through so much work! Another couple of days like that and I think I'll have worked through my holiday backlog. It's lovely to have my productive work space. A little annoyed I didn't do it much earlier. But better late than never! Thanks so much Jo.'