Nearly every decluttering session and home organising project you undertake will involve aiming to achieve at least one, if not all, of the following elements:
A decluttered space
Increased storage
Ease of accessibility
Systems that can be easily maintained
So, how can you actually achieve these Key Elements in your own home? Today I'm going step-by-step through the process involved in effectively decluttering any space of your home. As you read through the steps in this guide, try to envisage how you could tackle the spaces in your own home to achieve a more clutter-free and calm space. Let's get stuck into Decluttering 101!

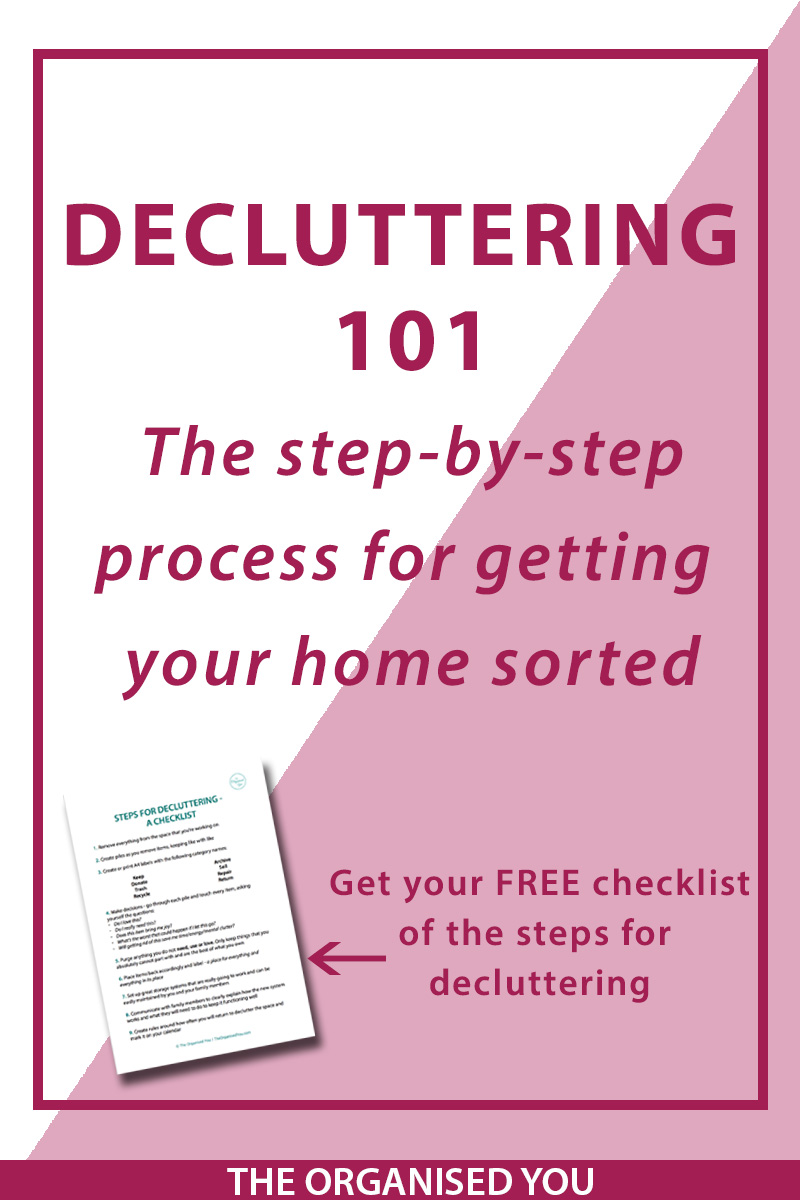
BONUS: Click on the button below to get your free checklist of the decluttering steps...

STEP 1 | Remove every item and lay it out
First of all, you need to physically remove every item from the space to give you a nice blank slate to work with. And I mean everything, right down to the last sock, pen, plate. You will need to ensure you have a nice, clear area to lay everything out so your items don't get jumbled with other things in your home that are unrelated to the task.
Most of my clients really dislike this step, as it looks like you’re just creating one big mess that will be harder to sort through. But trust me, starting with a clear space and a blank slate is the the best way to work out how you will reorganise the space.
STEP 2 | Categorise
As you take each item out, you will need to place it into a category. At this stage you're not doing any purging or decision-making, you are literally just sorting into 'like' or related piles.
Some category examples:
Wardrobe - pants, shorts, skirts, dresses, shoes, bags, scarves, belts
Junk Drawer - stationary, notepads, keys, letter supplies (i.e. envelopes, stamps), photos, sewing supplies
Pantry - baking-related, snacks, canned goods, sides, sauces, spices
Toys - building, musical, balls, trains, cars, dolls, lego, art supplies
Garage - hand-tools, power-tools, painting related, sanding, towels/rags, screws & nails
Paperwork - banking, insurance, health, jobs, mortgage, receipts
You will get the hang of it as you go. Categorising will be easier to do in some spaces than others, but just do your best as it will make the actual job of organising everything much easier later on. You may even find that some categories have sub-categories i.e. your 'stationary' category might have pens, pencils, erasers, sticky-tape & glue etc; your 'painting' category could have paints & stains, paint trays, rollers & cleaning equipment; your 'tops' category could have tank tops, dressier tops and long-sleeved tops etc.
STEP 3 | Create separate piles
Now it's time to get sorting! First, create some large labels with the following headings:
Keep
Donate
Trash
Recycle
Archive (i.e. seasonal items, decorations, clothes that you don't need/use all year round)
Sell
Repair
Return
(Notice there's no 'Maybe' sign!!)
Spread these signs out around the room/space so that when you're sorting, the piles don't get jumbled up and you know what belongs where.
STEP 4 | Make decisions
Once you've categorized all the items from one area, and have your signs/labels spaced out around the room you're working in, it is time to start making the tough decisions about what you will keep and what you will get rid of.
You need to sort category by category. Choose one to start with (easiest first will get you warmed up!). Physically pick up and touch each item and ask yourself these questions:
Do I love this?
Do I really need this?
Does it bring me happiness?
What’s the worst that could happen if I let this go?
Will getting rid of this save me time/energy/mental clutter?
Be ruthless when making your decisions - the less stuff you own, the less upkeep your home will require. The decision-making will be much easier in some areas and categories than others. A junk drawer will be relatively easy to declutter, whereas a wardrobe or memory box will be filled with harder decisions.
STEP 5 | Purge as much as possible
Anything that you do not need, use or love should be purged where possible. Only keep things that you absolutely cannot part with and are the best of what you own. Refer to this list for ideas on some of the items that should be easier to purge.

STEP 6 | Make everything easily accessible
Once you have sorted through every single category, and decluttered and purged as much as you can, you should be left with your 'keep' items. Now you'll need to work out how you will organise these as you put them back in place (which is why research and goal-setting is integral before starting any new project). It is so important that you try to make every item as accessible as possible during this process. Every item should have its own designated place. To make everything easily accessible you need to....
STEP 7 | Set up great systems with increased storage
At this stage you can work out if you need to purchase anything in order to increase the storage in this space and create a workable system. You should also resist purchasing items before you start the decluttering process, as often you'll be buying things that you actually don't need.
Look realistically at the space to see if a storage container would actually be useful in the space to keep things better organised i.e. drawer dividers, storage boxes to separate items, file folders, tubs etc. A great organising system will also definitely need labels! They help to ensure everything goes back in place, and can be easily found. You can see examples of labels in my pantry, fridge, kids' bedrooms and home office that help to maintain our organised home systems.
STEP 8 | Make sure the new system can be easily maintained by everyone
Whatever space in your home you have worked on, in order for it to stay organised you'll need a system that is easy to maintain for yourself and your family members.
The key factors for achieving this are labels, and clear communication and expectations for all family members so everyone knows how the system works. This may involve conducting a 'family meeting' to explain how the new system works, where things belong and what they will need to do to keep it functioning well. Make sure you ask family members if they have any questions about how the system works, after which there should be clear expectations that it should be followed by everyone.
STEP 9 | Create some rules
You'll likely need to make revisions to your organising system over time. This means coming back to the space every now and again to make tweaks and changes to ensure it keeps working effectively. Create rules around how often you will return to the space to do a quick declutter and reorganise (this shouldn't need to be massive, as you've done the initial big declutter). You should be marking these sessions on your monthly calendar so the areas of your home can always be organised and maintained.
I know that it can be difficult to want to get more organised but not know exactly how to accomplish it. These skills and strategies do not come naturally to everyone.
But they do to me, and I wanted to be able to share the process I use both myself and with my clients to show you that it is possible to create a more calm and balanced home life.