The time has finally come for us to start our daughter's nursery makeover! At 2 years old, Eva is quickly outgrowing many of the baby things in this room and one of these is definitely the change table, which is now just taking up valuable space. But it has definitely been a valuable nursery addition for the last 4 years! I've previously shown you the makeover I did to get everything sorted, but today I thought I'd share 5 top tips for an organised and well-functioning change table.
I can't believe the time has come for us to start getting rid of baby things and thinking about a nursery makeover. I have mixed feelings about it to say the least. The other night my husband came home from work and found me sitting in my daughter's room crying because I'm so sad about letting go of the nursery - it's like letting go of my baby! But I'm also so excited to be giving her a 'big girl' room now that she's turned 2. Roller-coaster emotions for sure! I'm sure there are many parents out there that could relate.
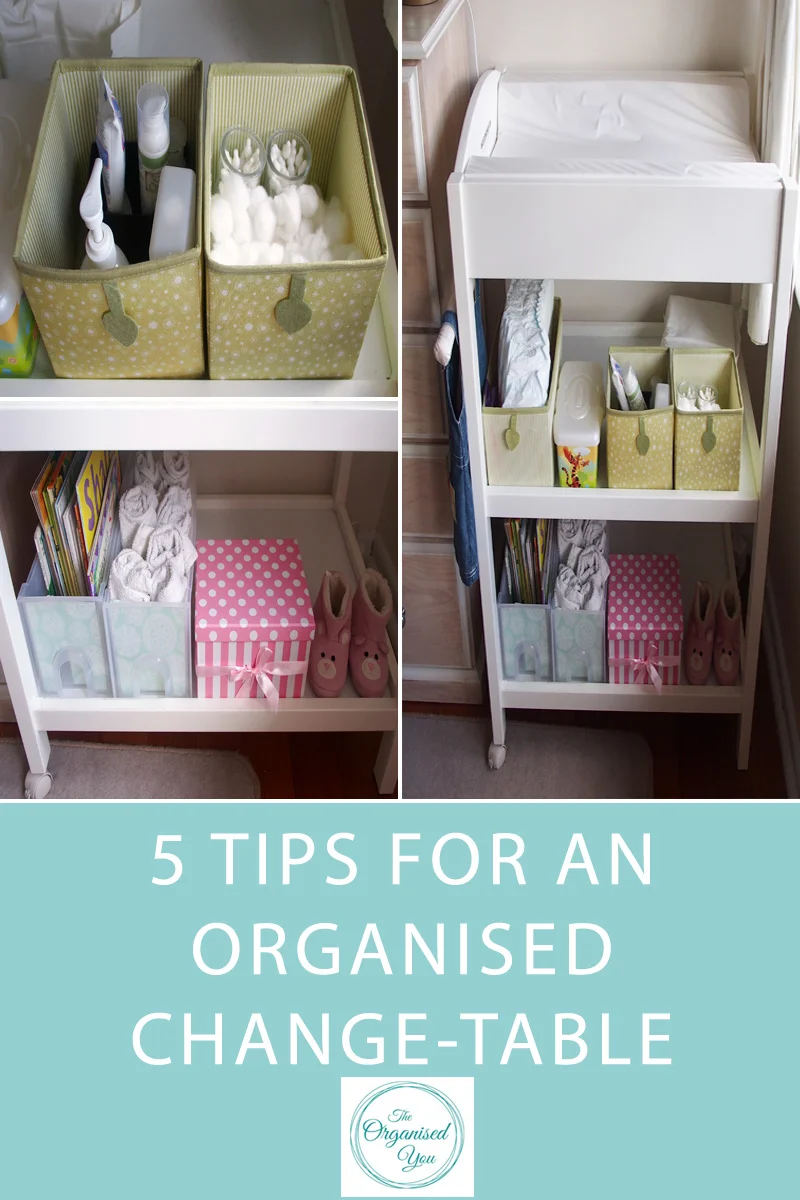
Here are my top 5 tips for keeping your child's change-table organised...
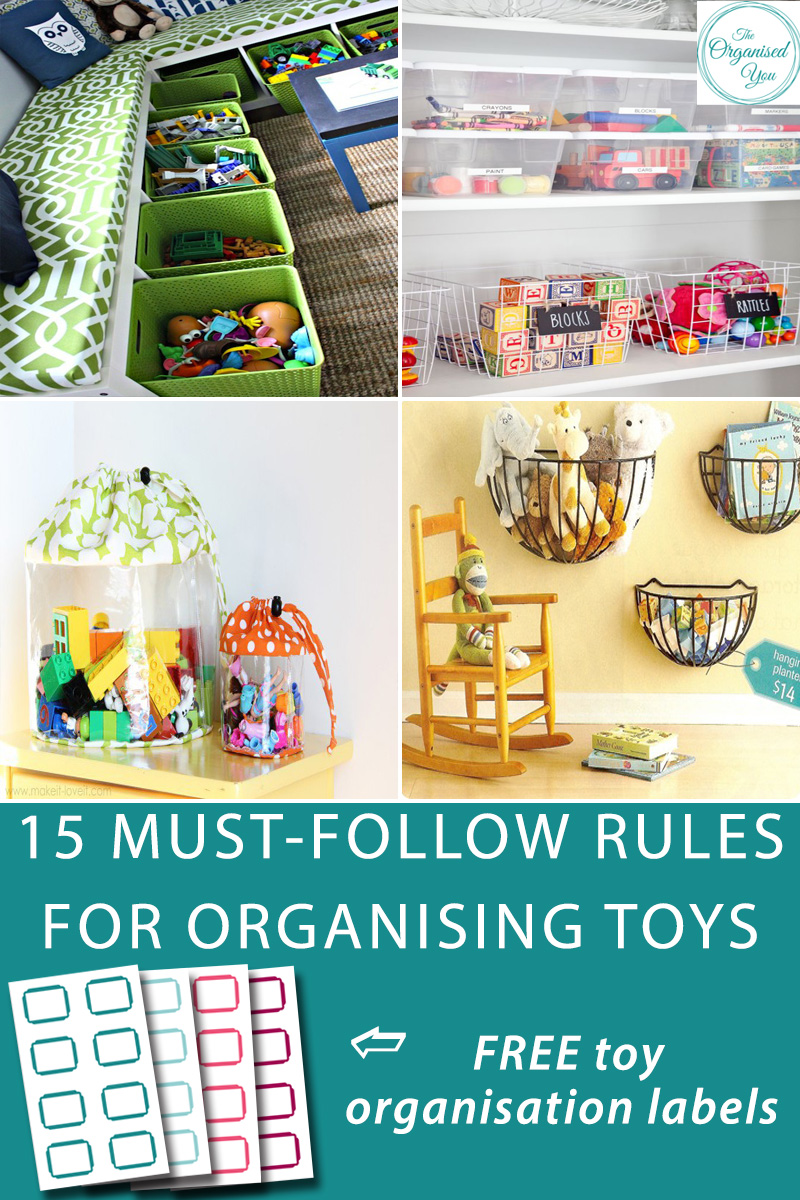
1 | Use baskets or boxes to store essential items
Having all your supplies categorized into storage boxes or baskets is the best way to maintain an organised change-table. I got this set of 3 fabric boxes from Ikea, and they are perfect for corralling the cotton wool and ear buds, lotions and hand sanitiser, and to hold nappies. There is still quite a lot of room on this top level for more storage boxes, but I found that I didn't need a heap of products, just the basics.
2 | Have adequate nappy storage and supplies
Of course the main job of a change table is for changing nappies, so ensuring you have a good sized-storage box for them, plus a big supply of wipes, is a must (do you like my daughter's chalk decoration of the storage box?). I used to buy those small packets of 50 wipes at the supermarket, but the amount of packaging we went through, plus the expense, was too much. I now buy wipes in bulk and then just fill up the large pop-up container and smaller wipe cases for our living room change station and my handbag. One thing I am definitely looking forward to in the not-too-distant future is no more nappies!
3 | Utilise the bottom level of the change-table for storage
Because this level acts essentially like an open shelf, it could be a good spot for toy storage, but my kids have never really played with toys that I've put here. Instead, I use it for book storage and spare towels. The boxes that I gave a quick makeover to back in October have held up well, but I'm excited about a more exciting solution for displaying and storing books in this room. I also store my daughter's slippers here, and a box with some 'special' items like her fairy wand and jewels. Too cute.
4 | To cover or not to cover the change mat?
I know this may not be the norm, but I don't put anything on top of the change mat as a cover. I used to have special fabric covers but found, especially with a newborn, that I was having to do so much extra washing due to all the accidents! I'm probably being lazy, but being able to give the change mat a quick spray and wipe down is so much easier than having extra washing. And the kids have never complained! But this is obviously a personal preference...
5 | Overhead entertainment
I don't know about your babies, but mine would wriggle around like crazy when they were getting changed! My sister-in-law gave us this great hanging toy from India, and it was brilliant for keeping both kids distracted through the nappy-changing process (and was just out of reach for them!). Nothing like a bit of overhead entertainment to talk about colours, animals and sounds, and to prevent bubba from rolling off the change table!


![7 tips for a [relatively!] stress-free kid's party](https://images.squarespace-cdn.com/content/v1/534bbd08e4b0b891fcd7f20a/1460954330326-C1NI8RPWIDC1S0SFJNYD/party.jpg)