On our current 'storage cupboard journey', I've shared how my husband built the unit, and the inspiration pictures I used to help me work out how to organise the space. Today I'm showing how I create a plan for organising a space before diving in - I hope you find it useful for your own organising projects!
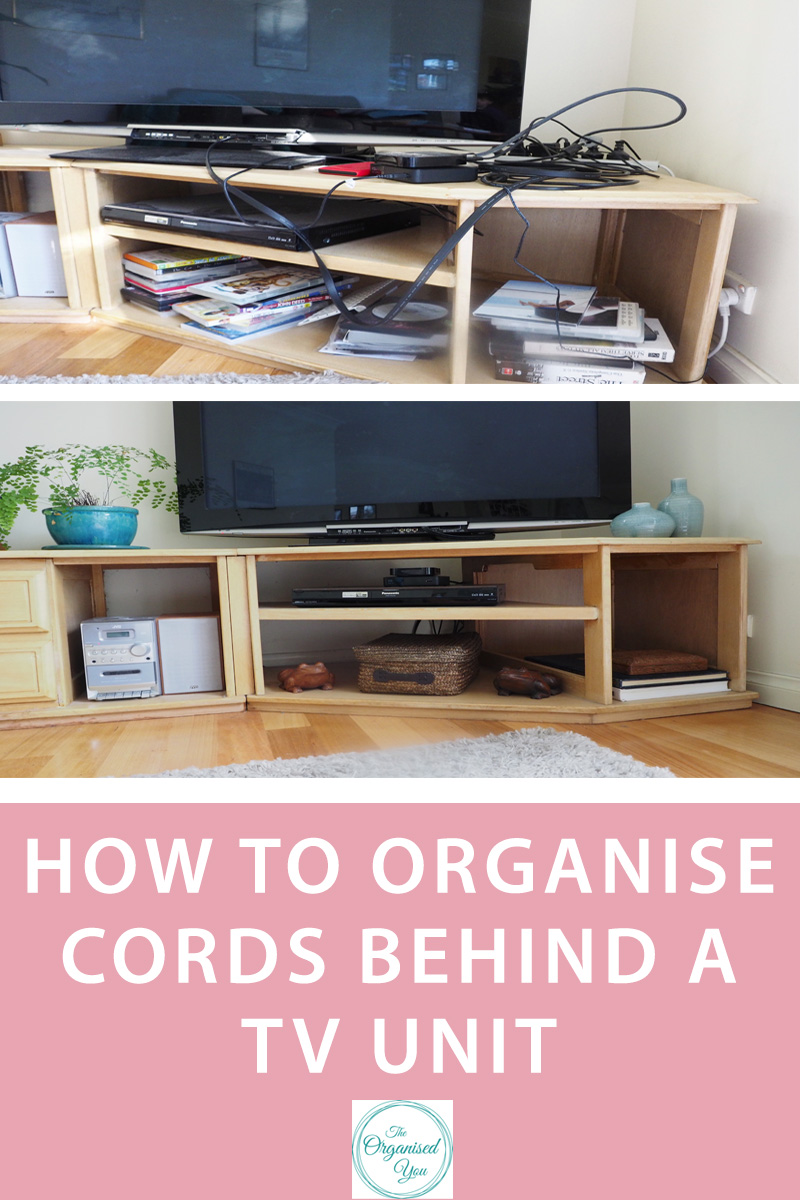
First, here's a look at what we originally started with. Pictured below is the end of our hallway, which housed a dresser that my Mum gave us. You can see the piles of cushions building up underneath the dresser as I didn't have a storage spot for them. We also had our wine rack here, some frames and a random Christmas decoration...
Our original storage cupboard, which was in the middle of the hallway, stored items like linen, extra pillows and a doona, towels, shopping bags, the swimming bag, tablecloths, old clothes for gardening/projects, our good cutlery set, towels, picnic rugs, suitcase, empty photo frames, memory boxes and some wrapping paper rolls. What a hot mess! I did have some things sorted into labelled fabric boxes, but because the cupboard contained mostly larger items, it always looked disorganised to me.
The first step to any organisation project should always be to remove everything and lay it out so you can see what you have/need/don't need. Our bedroom is a nice big space so everything got dumped in here.
I tried to be as ruthless as I could during the 'purge' stage, as I didn't want to be packing things into our new space that we really didn't need or use anymore. I donated a few cushions, towels, some linen and frames, and got rid of some things we didn't need anymore.
I then listed everything that was in the original cupboard, as well as other items that were stored in the garage (i.e. Christmas decorations) or in other cupboards (i.e. bags, bedding, gift wrapping supplies) that I wanted all to be stored in the one place.
I then created a very rough diagram of the cupboard and listed out where to place different items. Due to the L-shape of the cupboard, you can't actually see what's on the left side when you open the door. So I was able to designate this area for the bigger items i.e. doona, swim bag, spare pillows. The very top shelf could hold Christmas decorations and memory boxes, which we don't access a lot of the time.
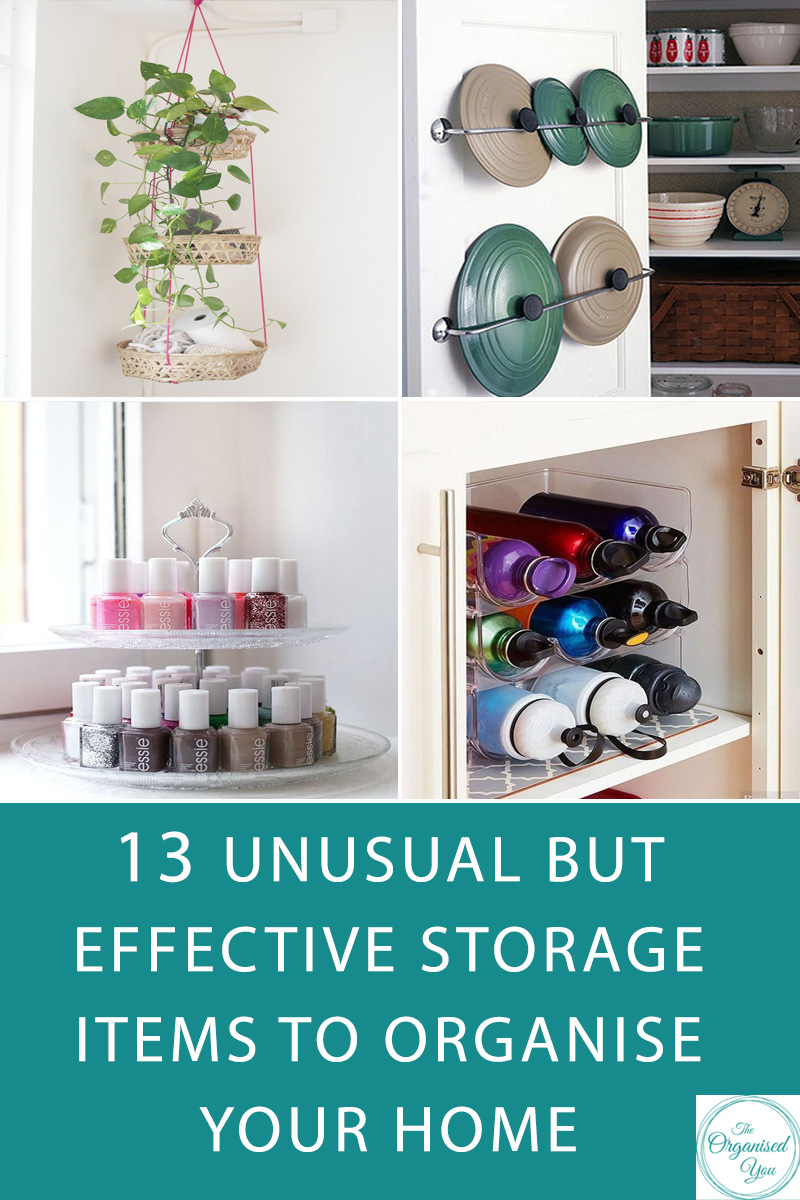
I had quite a few storage boxes on hand already, but did end up purchasing a few more. I love fabric storage boxes, and use them throughout the house for various things. They are nice and flexible, easy to pull out with the handle, and can fit quite a lot. Here are the products I used for this project:

Bunnings storage cube - storing old clothes for gardening/projects/messy work

Ikea Svira storage box - storing bedding: spare pillowcases, flat & fitted sheets, doona cover; and clothes to donate

Ikea Storage Box - one storing small boxes & containers; two larger ones as memory boxes for my husband & I

Target storage cube - storing towels, baby gifts and gifts, Christmas presents, tablecloths & napkins

Bunnings Storage Box - for Christmas decorations

Storage boxes (similar here from Typo) - extra camera lenses, lighting equipment and spare cords
Once everything was all planned out, I created labels with a packet of labels I grabbed from Spotlight (I often use these with clients too).
That is basically my process for organising any space! Stay tuned for tomorrow's video where you will get to see how I pack and organise the storage cupboard. So glad to have this project done, and have everything in one easy-to-access place!
(UPDATE: See how I organised our storage cupboard right here in this video!).