An organised fridge can be a real game-changer in terms of how you use your kitchen and the amount of time you spend in it. The kitchen is called 'the heart of the home' for good reason, as the majority of our time is spent here, be it preparing meals, putting away the groceries, baking, grabbing snacks, making coffees, doing the dishes, organising the lunchbox... it all adds up!
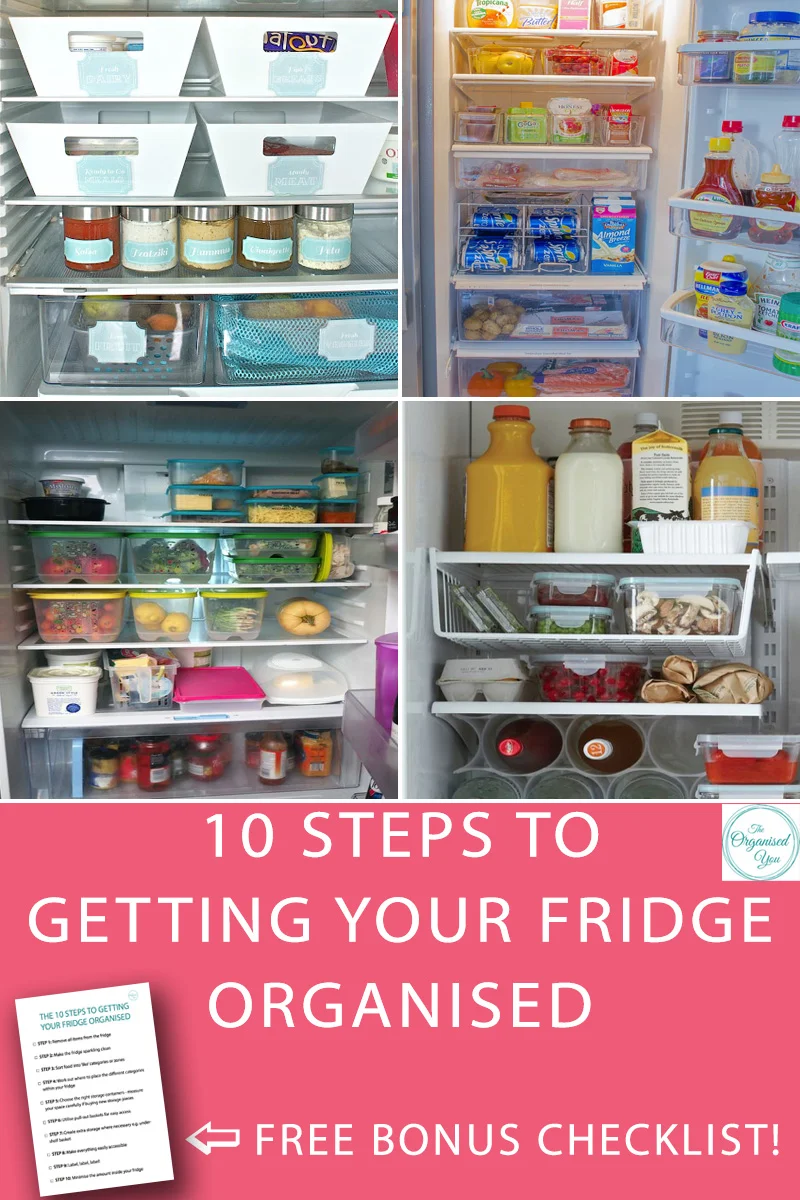
How you organise your fridge (and freezer and pantry for that matter) can really reduce the amount of time you spend doing these daily tasks. Having an organised fridge will also save you money, and make your fridge run a lot more efficiently. Today I'm outlining the 10 steps you can take that will allow you to easily access everything in your fridge, and keep it looking sorted and organised! Are you up for the challenge?
Of course, what works in one person's fridge may not work in another's, depending on the type of food being stored, shelf space, fridge storage capabilities, number of shelves, types of containers etc. However, most of these tips are fairly universal and apply to most fridge spaces, so adapt the ideas to suit your personal needs.
Step 1. Remove all items from the fridge
First things first, when you're doing a thorough clean, declutter and organise, you need to empty the entire fridge. This includes all the bottles and jars, as these are the biggest culprits for leaving sticky residue. I usually just put everything on the bench and work quickly so that nothing goes warm, but you could pop them in an ice-tub if you're really wanting to take your time.

As you remove each item, take the opportunity to do a big purge and declutter. Throw out anything rotten, mouldy or past its use-by-date. Get rid of food items you'll likely never eat, such as specialty mustards or relishes given as gifts, or jars of sauce that you used in one recipe 8 months ago. Be as ruthless as you can, so you can create lots of storage space in your newly organised fridge.

Step 2. Make the fridge sparkling clean!
Take advantage of your empty fridge and give it a really good clean. Turn the power off at the back and unplug your fridge to make sure everything is safe while you're using water around the wires. Remove the shelves and door compartments and soak them in hot, soapy water.
While they're soaking, use a food-safe natural cleaner to wipe down the entire fridge, including the nooks and crannies, and the bottom of the fridge where crumbs can gather. I either use a simple water/vinegar combination or our all-purpose spray. Clean Mama recommends a mix of either dish soap or castile soap, baking soda and warm water for a really thorough clean, and a dry microfibre to wipe it down.

Step 3. Sort food into 'like' categories
Once you've thoroughly cleaned your fridge, it's time to sort the produce on your bench into 'like' categories. You could organise it into zones i.e. breakfast, lunch, snacks; or into types of produce i.e. dairy, deli items, drinks, fruit, vegetables etc. You can see an example of organised zones below (from Prep Ahead & Dine In) which Jaime says encourages healthier eating and better snack choices for her and her family.

Take the opportunity to think carefully about the categories that will work best for you and your family while you've got all the food items spread out in front of you.
Step 4. Work out where to place the different categories
Once you've selected your categories or zones (and remember, if you get it wrong the first time and it's just not working for you, then keep experimenting until you find a system that works!), it's time to decide where to place them in the fridge. You want to be thinking about which items you grab the most frequently and need easiest access to. These categories should be placed near the top of the fridge, while the ones you use less frequently should go down the bottom or in the doors.
For example, in my own fridge (which I'll show you in more detail on this week's episode of The Organised You TV), I don't use jars, sauces, mustards etc very often, so I actually place them in the crisper drawer. All of our fruits and vegetables are in clear containers on the second and third shelf so I can see exactly what we have and need to use. The top shelf holds things I use all the time or need easy access to, like cheese, sandwich meats, and the daily leftovers.

PSST... Interested in learning more about organising your kitchen? Clever Kitchens is the ultimate guide and video workshop that will show you how! LEARN MORE HERE >>
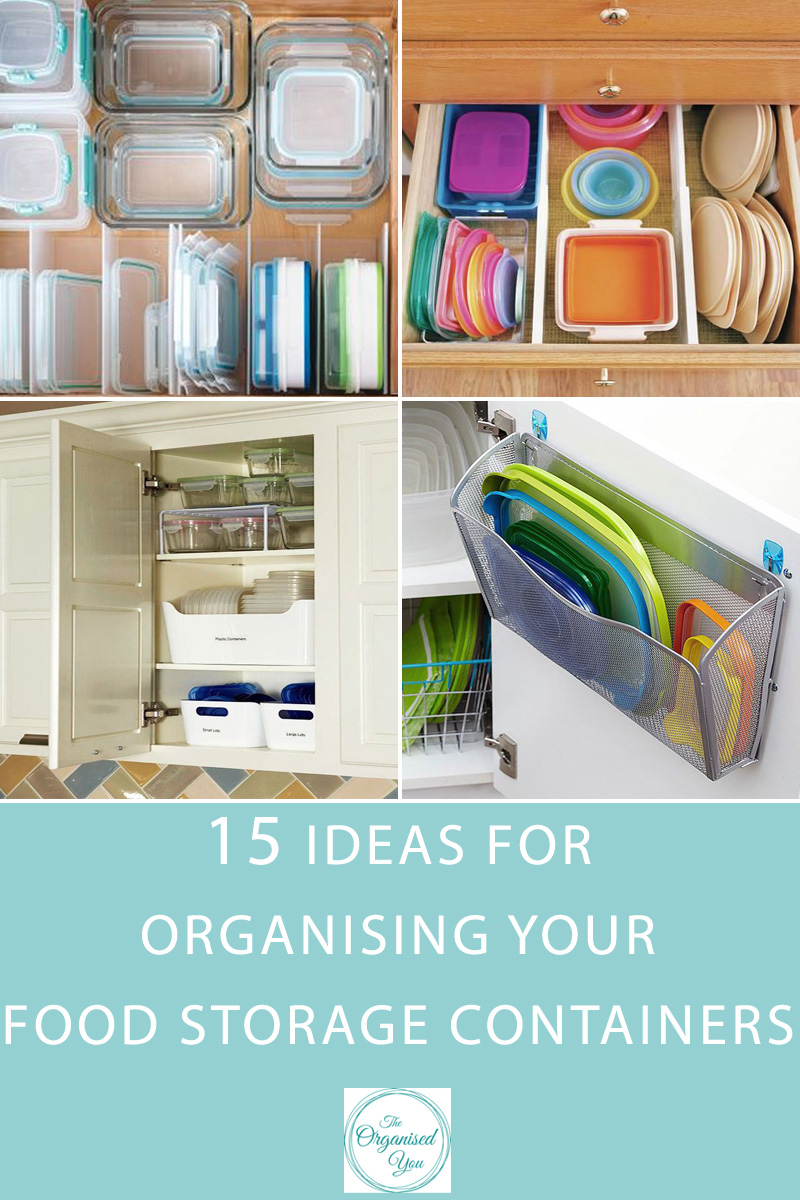
Step 5. Choose the right storage containers
Once you've decided where your food categories should be placed in the fridge, you need to think about which storage containers will work in each space. Stackable containers will maximize the fridge storage space best, as shown below by First Home Love Life, and they'll allow you to group like items together i.e. fruits, deli items, vegetables etc.

Clear containers are key so you can see what you have, and square or rectangular are best as they take up the least amount of room compared to round. If you're purchasing new storage items, make sure you measure your fridge space first, so you can use the space you have in the best possible way.

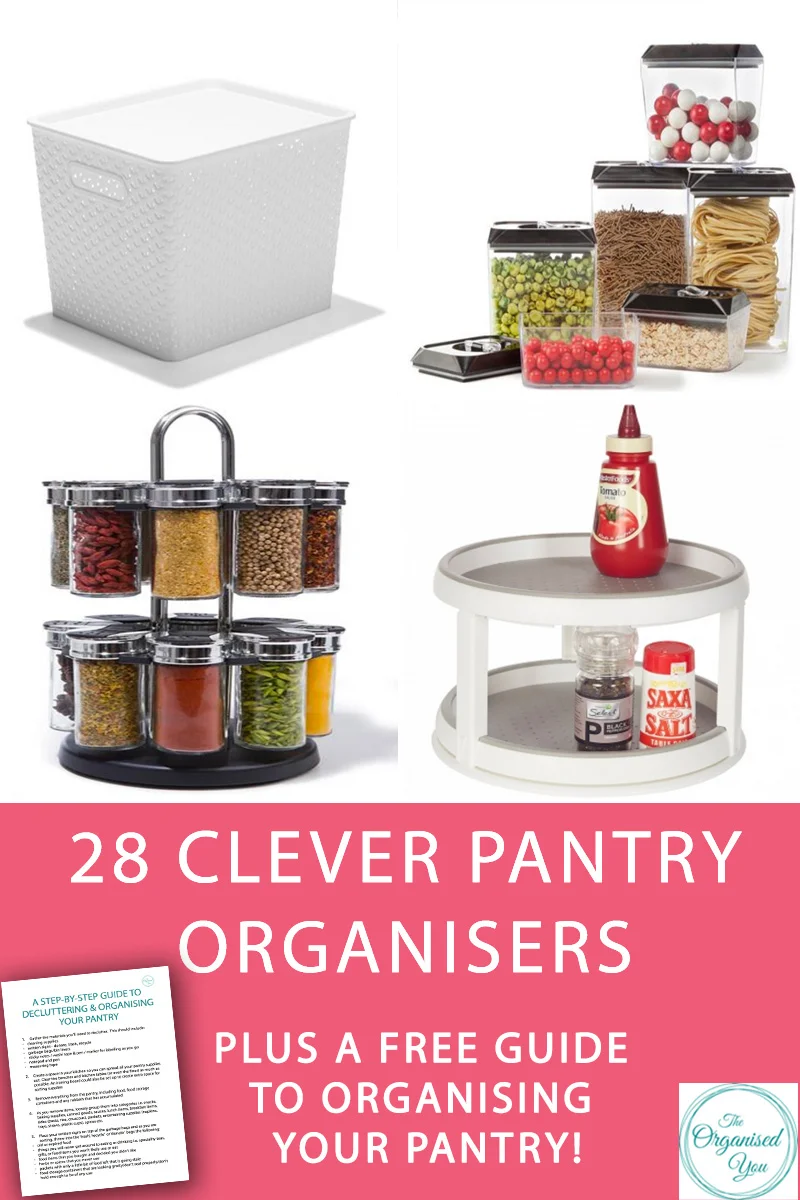
Step 6. Utilize pull-out baskets for easy access
Pull-out baskets are a fantastic tool for organising the fridge and making everything easy to access. They are so handy to pull out, place on the bench to get what you need, and then pack away. You can organise nearly all your food categories within them, as shown below from One Good Thing by Jillee. Find them at most dollar stores, or any kitchen storage shop. My one suggestion would be to label the baskets so you and your family members know exactly what belongs inside each one.

Step 7. Create extra storage where necessary
If you're still needing extra storage, then try thinking outside the box! An under-shelf basket (like this one from Martha Stewart) is perfect for creating an extra layer of storage...

While Jen from IHeart Organizing uses sturdy multi-purpose bins to hold a variety of items. These bins also slide in and out easily so they're a great choice in the fridge!

Step 8. Make everything easily accessible
It's a pain to have to move things out the way to get to something, especially when you're in a hurry. This is also how items get lost in the back of the fridge and rot or expire without you knowing it's even happening! The key is to make everything is easily accessible. Martha shows how the use of a Lazy Susan (or fridge turntable) makes it easy to grab bottles and condiments...

While Jen uses a handy basket in the crisper to keep produce organised, contained and easy to grab. As you're setting up your fridge, try to make sure every item is easy to access, as this will help to keep your fridge neat and organised all the time, even when it's fully stocked.

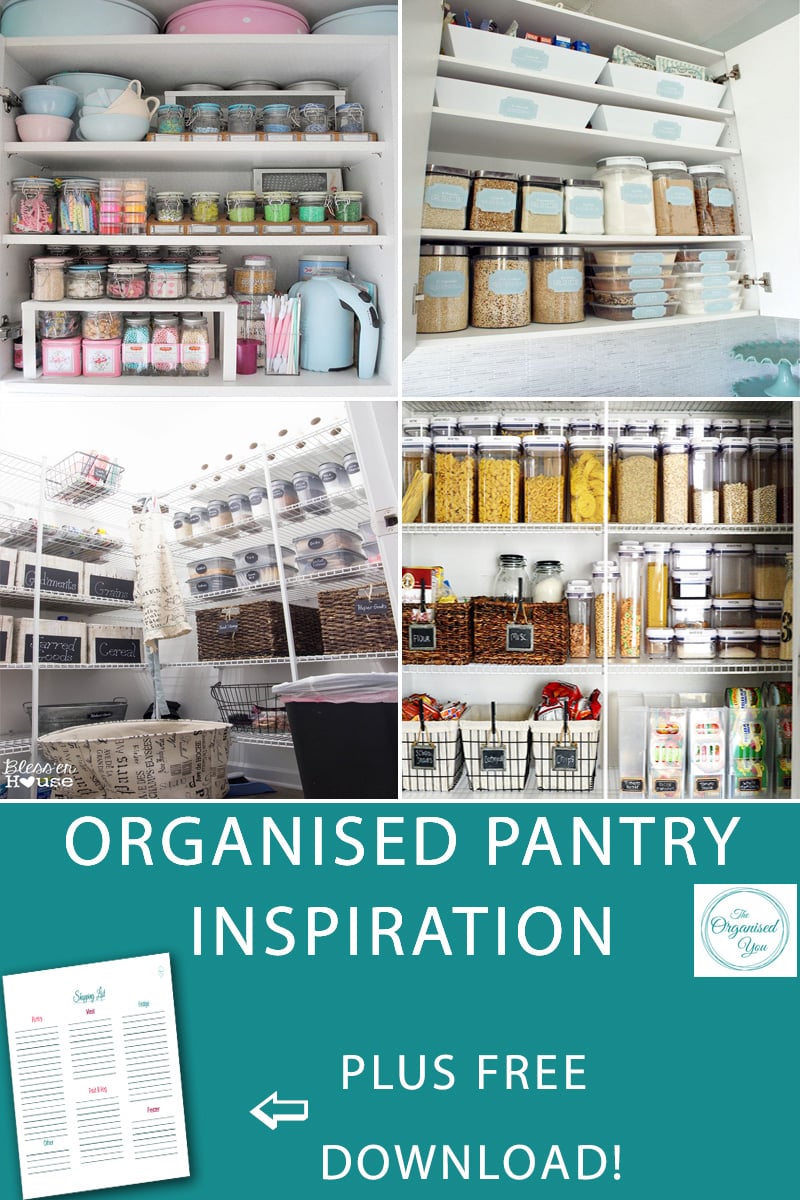
Step 9. Label, label, label!
I may well be a crazy label lady, but I seriously think labelling saves so much time when you can find at a glance what you're looking for! Plus it ensures your family members know exactly where everything belongs, which should save some arguments.
The Social Home went big with her labels and they look colourful and cohesive. I'm not suggesting you label your bottles of drink, but baskets will definitely need them so you know exactly what goes where, and clear container labels can also be useful. Some simple labels from a label-maker or even washi tape, like I use in my freezer, are easy to apply and will last.

Step 10. Minimize the amount inside
Food will actually last longer if it has some breathing room, because the air inside the fridge will be able to circulate more easily. So, try not to pack your fridge too full. This picture from Four Generations One Roof shows a well-stocked fridge that isn't packed to the brim.


So there you have it -- 10 easy steps to getting your fridge organised. Are you ready to take the challenge and get yours sorted? I know you can do it!